Friday, February 27, 2015

DIY radiator covers

Awhile back, I asked D what his favorite project I had done so far was. To my surprise, he said the radiator covers. Of course this was music to my ears because it was a project that when I first started, he looked at me like I was crazy. So when he said that, I thought "Success! I was right."

I knew from the beginning that this project would make a huge difference. The radiators were cool and all, but didn't serve any function besides heat and took up a lot of space. Other radiators in our house have metal tops so they can be used as shelves. The radiator in the bathroom and kitchen had no shelf so I decided to make covers.

I did a lot of research on pinterest looking for construction methods and style inspiration. I referenced this link for construction method, and I was inspired by the mission look as pictured below that I found online:


You can actually buy these pre-made but they are not cheap. There are a lot of DIY covers out there that use decorate metal grates instead of the wood flats, but looking into it the sheets of metal were more than I wanted to spend. So after deciding on the style, I planned out how much wood I would need and the construction method. I took measurements of the radiators and left some clearance around the sides and top. For the kitchen, I thought it would look best if the radiator cover sat right beneath the window and was the same width of the window ledge/trim.  Here's a look before the covers:


I then used the measurements to create drawings in illustrator to scale so I could plan out the wood. Here is a drawing of the different components:


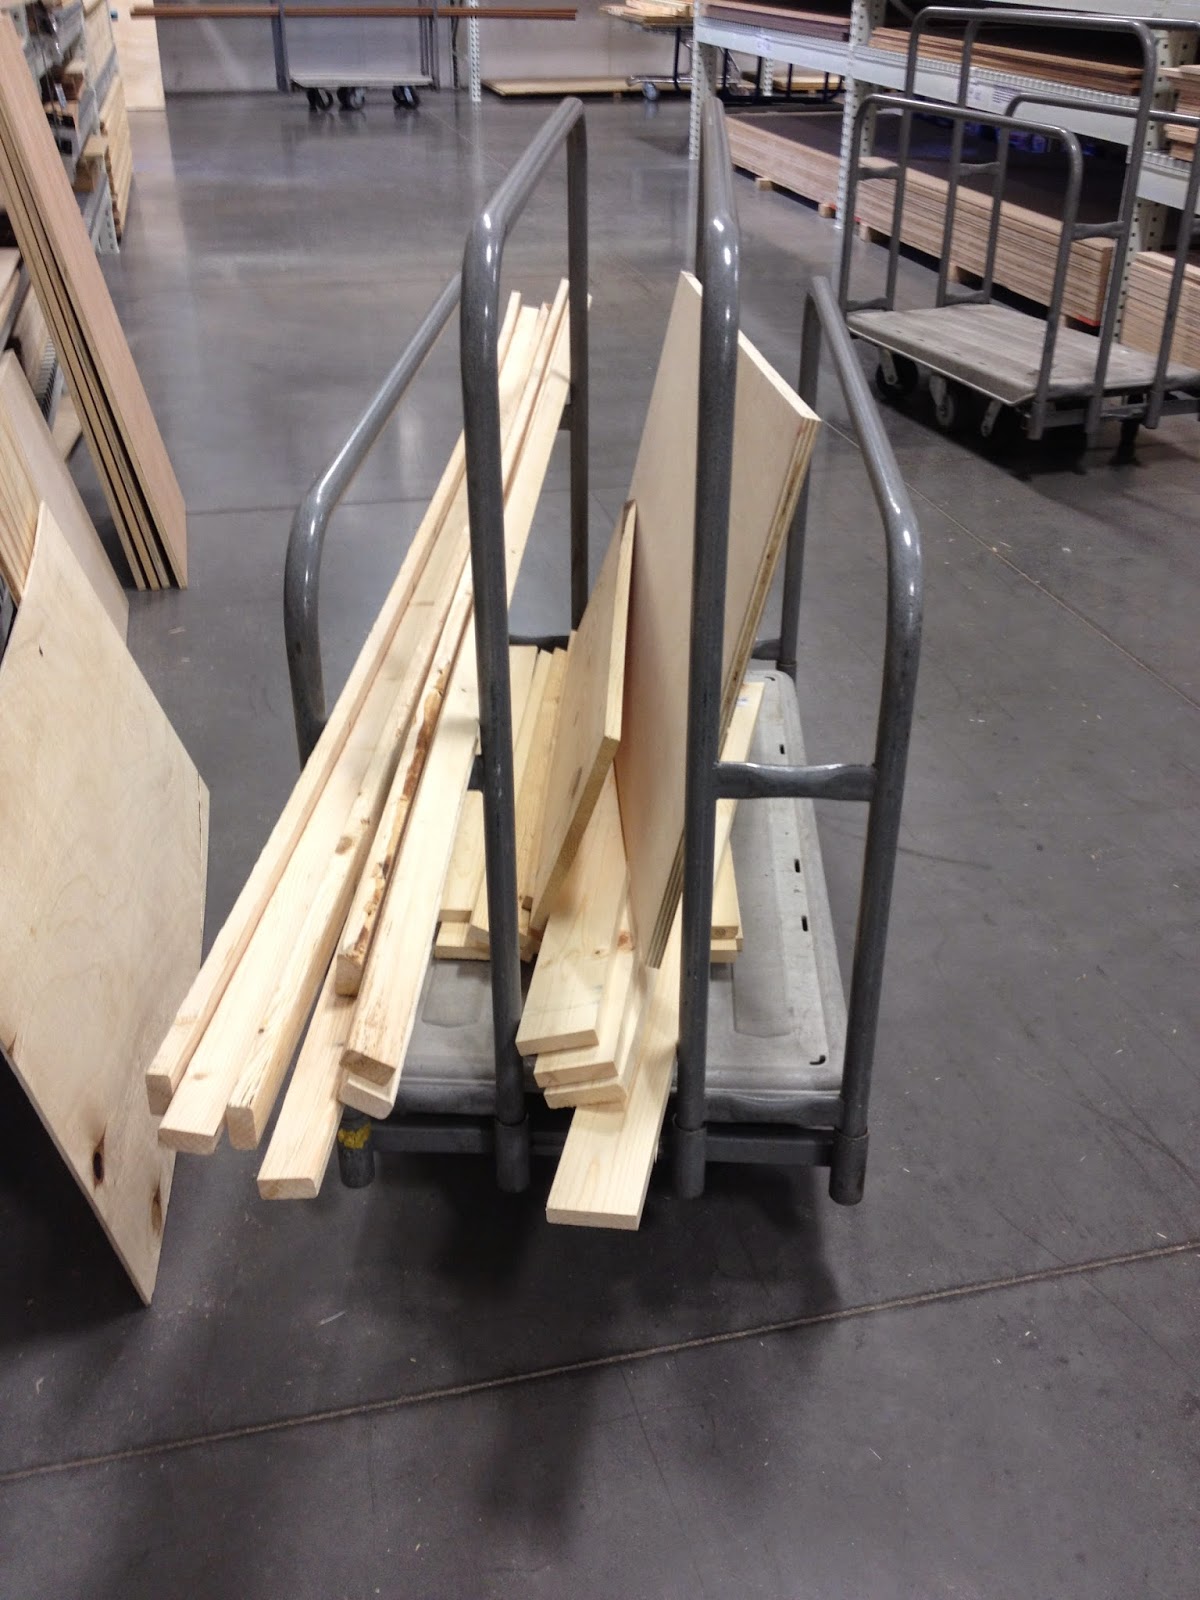
Off to Menards we went. As I was looking for the right board sizes, D asked "Are you sure you know what you're doing?" I said "umm... yes. I have a drawing!" I guess I can't blame him for not seeing 2 radiator covers in this pile of wood.


I started by assembling the sides of the radiator cover. I only had to create 3 sides so that it would sit nicely over the radiator and could be easily pulled away for access. It was easier to build both radiators at once. I cut all pieces according to the dimensions in my drawing and laid them out to make sure they all fit properly. 


I purchased a kreg mini jig kit for making the pocket hole screws. This made assembly go pretty quickly. You have to purchase special screws for the kreg kit but I think it was well worth it. I marked all pieces that I would need to make a pocket hole in, making sure the nicer side of the wood would be facing the front with the screws in the back. After joining all of the pieces, the joints looked like this:


Next, I stood the pieces up and used my new finishing nailer and compressor to nail them together. I measured and cut the top to fit, leaving some overhang on 3 sides. I spent time sanding it with my palm sander so the surface would be smooth for painting.


They were looking pretty good at this point! Before I went any further, I brought them upstairs to make sure they fit how I wanted them to. 


I have to admit, I was tempted to leave them a natural wood finish. But I decided they would blend in more if they were white. I wanted to camouflage them and make them functional, not stand out. As you can see from the above image, the radiator cover in the kitchen needed a small adjustment to make the top fit snugly under the window trim with a minimal gap. This was not because my radiators were uneven, but the window ledge actually wan't level. I also had to make some adjustment sto the bathroom cover because the radiator was higher in the center than I had measured. Oops. I remedied this by getting some little black rubber feet that I hammered into the bottom. After the adjustments were made, I secured the top with a few finishing nails. From there, I primed them and added a coat of white paint. Luckily I had trim paint leftover from the kitchen and bathroom wall paint leftover so they would match perfectly. I should also note that before I installed the cover, I used the extra white paint I had to put a quick coat on the radiator to cover the nasty yellowish paint. It probably wasn't necessary with the cover, but it didn't hurt. The final results turned out better than I expected!


The kitchen cover turned out to be a perfect spot for the cats to sit and look out the window. The bathroom cover added some extra shelf space for things like tissues and toilet paper. Honestly, the most surprising thing about this project was how much it changed my view of the bathroom. I embraced the pink and black of the bathroom by adding a plush black bath mat and a fresh white shower curtain. The white towels we purchased from our wedding registry were a nice fit. The bathroom had the original charm without the mismatched and grungy look of the radiator and old accessories. After seeing it all together, D and I decided we can wait awhile on our bathroom redo and focus on other things. I thought I would never like the pink and black tile, but now it's growing on me :).

Thursday, February 19, 2015

Curb Appeal

My favorite phrase when it comes to homeownership: curb appeal. Improving the curb appeal can be as easy as painting the front door a different color, or as complex as new windows and siding. I think our house already had pretty decent curb appeal when we purchased it, but a continually fun challenge for me is improving the curb appeal even more.

Last year, we started by painting the front door and shutters. We also did a bit of landscaping by adding some hydrangeas, hostas and mulch. So far this year, we cut down a large tree. There is still so much to be done! D and I have been discussing other updates we can make to improve the curb appeal even more. Some of the things we have talked about include:

washing the house- a must do for spring
more landscaping- including boxwoods in the front of the house
painting the trim- but what color?
adding flower boxes to the front of the house
reseeding the lawn- may have to wait until fall
garage door makeover
landscape lighting- the dollar solar lights just aren't cutting it

So we have a pretty long list of projects for spring. We most definitely have spring fever and can't wait to start. The first step will be to wash the stucco exterior of the house. It's very dirty and grungy looking. This should be a fairly easy project with a hose and gallon of house wash. From there, I'd love to paint the trim a different color from the house to give it more contrast. The trim and house are about the same ivory-yellowish color right now. The snow makes it especially dirty looking. Here's a picture of the house in it's current state (the wreath was a pinterest DIY project made from coffee filters):


Yuck. OK, I am going to use a picture of the house from last summer so it looks a little nicer:


So I have been looking online for some inspiration on trim colors that would make it look a bit fresher. Right now, D and I are thinking a nice white would clean it up a bit. This is the best image I found that shows what it might look like with the black shutters and ivory/yellow:


I would also love to strip the paint off of the porch so that the natural brick is exposed. Right now its painted a maroon color. We also want to add boxwoods and flower boxes so here's a rendering of what that might look like:


OK, maybe the window boxes are a bit much. Here's a render without all of them:


Hmm. I may like that better. Depends on how big the hydrangeas get under the windows. There is an existing window box under the bathroom window that we will definitely be utilizing this year. I like the brighter white trim. I took the liberty of making the existing concrete pathway into brick. I think it looks so much nicer! Looking online, we may be able to lay thin brick pavers right over the existing concrete. Definitely elevates the look. Brick is so much prettier than concrete.

What else could we do to the exterior to improve the curb appeal? Any ideas?