I knew from the beginning that this project would make a huge difference. The radiators were cool and all, but didn't serve any function besides heat and took up a lot of space. Other radiators in our house have metal tops so they can be used as shelves. The radiator in the bathroom and kitchen had no shelf so I decided to make covers.
I did a lot of research on pinterest looking for construction methods and style inspiration. I referenced this link for construction method, and I was inspired by the mission look as pictured below that I found online:
I then used the measurements to create drawings in illustrator to scale so I could plan out the wood. Here is a drawing of the different components:
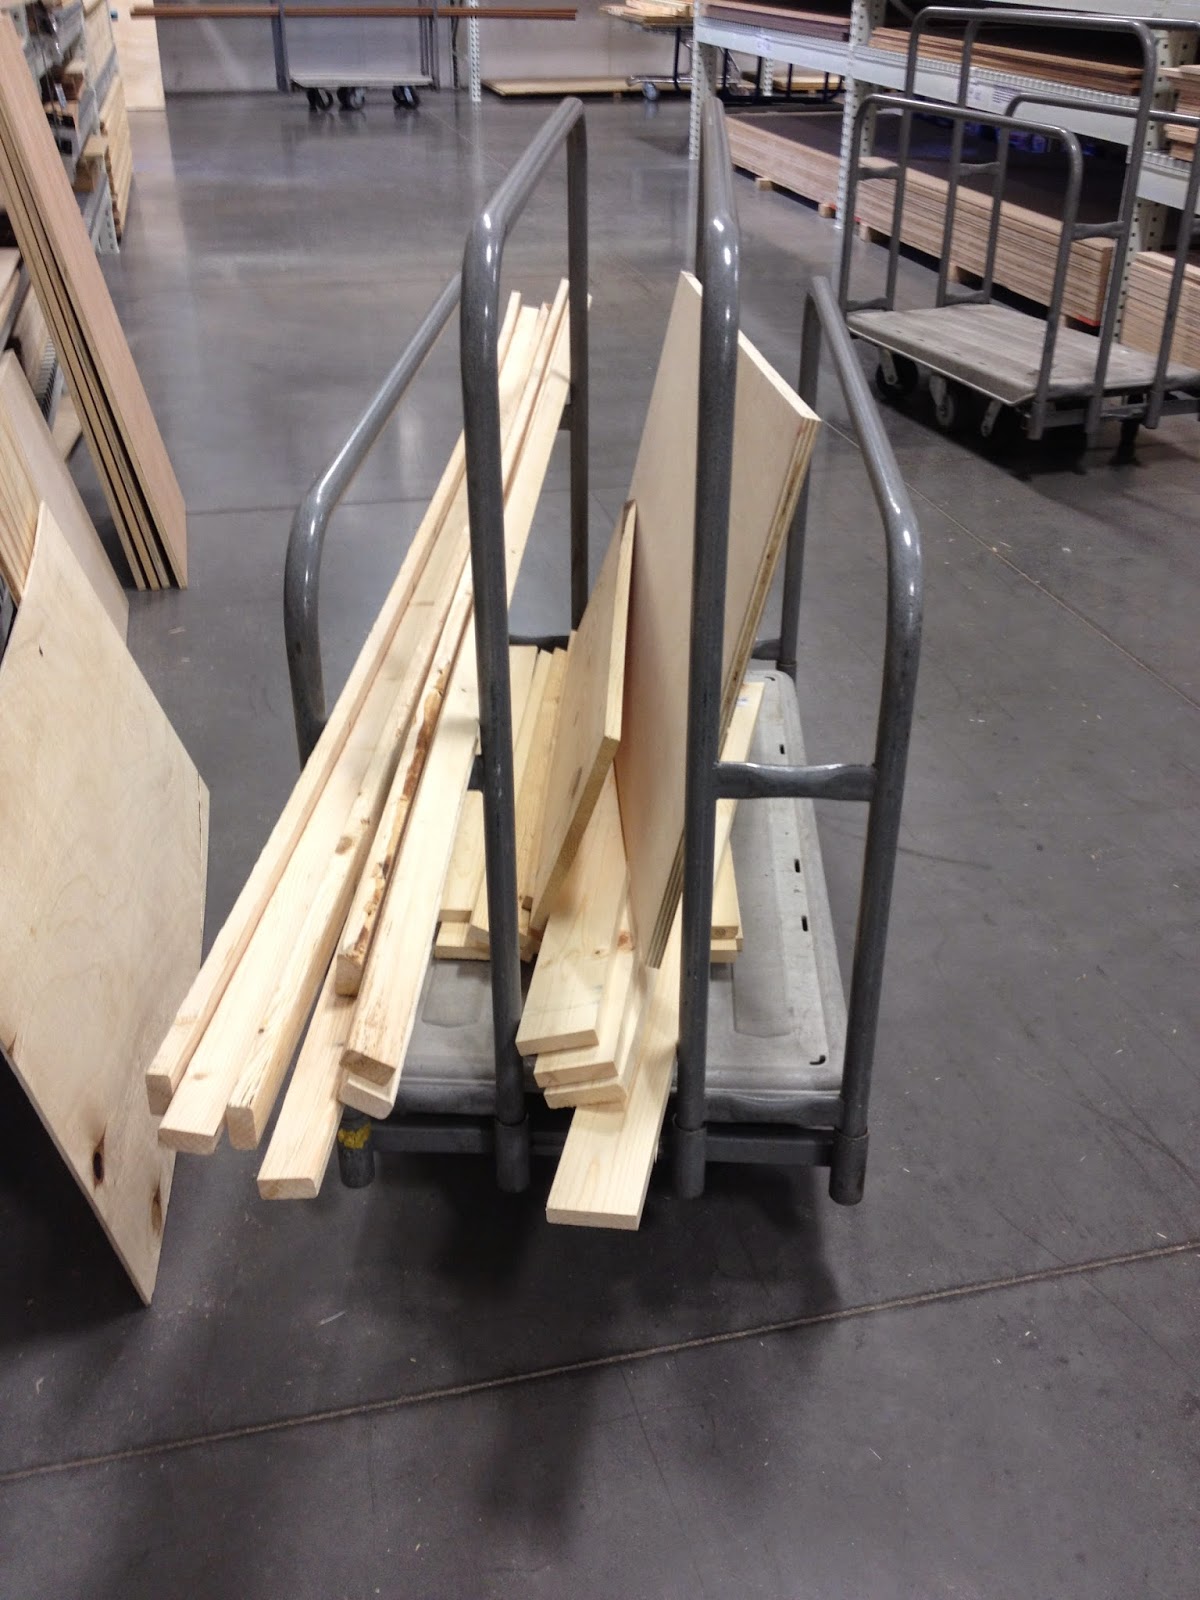
Off to Menards we went. As I was looking for the right board sizes, D asked "Are you sure you know what you're doing?" I said "umm... yes. I have a drawing!" I guess I can't blame him for not seeing 2 radiator covers in this pile of wood.
I started by assembling the sides of the radiator cover. I only had to create 3 sides so that it would sit nicely over the radiator and could be easily pulled away for access. It was easier to build both radiators at once. I cut all pieces according to the dimensions in my drawing and laid them out to make sure they all fit properly.
Next, I stood the pieces up and used my new finishing nailer and compressor to nail them together. I measured and cut the top to fit, leaving some overhang on 3 sides. I spent time sanding it with my palm sander so the surface would be smooth for painting.
They were looking pretty good at this point! Before I went any further, I brought them upstairs to make sure they fit how I wanted them to.
I have to admit, I was tempted to leave them a natural wood finish. But I decided they would blend in more if they were white. I wanted to camouflage them and make them functional, not stand out. As you can see from the above image, the radiator cover in the kitchen needed a small adjustment to make the top fit snugly under the window trim with a minimal gap. This was not because my radiators were uneven, but the window ledge actually wan't level. I also had to make some adjustment sto the bathroom cover because the radiator was higher in the center than I had measured. Oops. I remedied this by getting some little black rubber feet that I hammered into the bottom. After the adjustments were made, I secured the top with a few finishing nails. From there, I primed them and added a coat of white paint. Luckily I had trim paint leftover from the kitchen and bathroom wall paint leftover so they would match perfectly. I should also note that before I installed the cover, I used the extra white paint I had to put a quick coat on the radiator to cover the nasty yellowish paint. It probably wasn't necessary with the cover, but it didn't hurt. The final results turned out better than I expected!
The kitchen cover turned out to be a perfect spot for the cats to sit and look out the window. The bathroom cover added some extra shelf space for things like tissues and toilet paper. Honestly, the most surprising thing about this project was how much it changed my view of the bathroom. I embraced the pink and black of the bathroom by adding a plush black bath mat and a fresh white shower curtain. The white towels we purchased from our wedding registry were a nice fit. The bathroom had the original charm without the mismatched and grungy look of the radiator and old accessories. After seeing it all together, D and I decided we can wait awhile on our bathroom redo and focus on other things. I thought I would never like the pink and black tile, but now it's growing on me :).


What size wood did you use?
ReplyDelete