
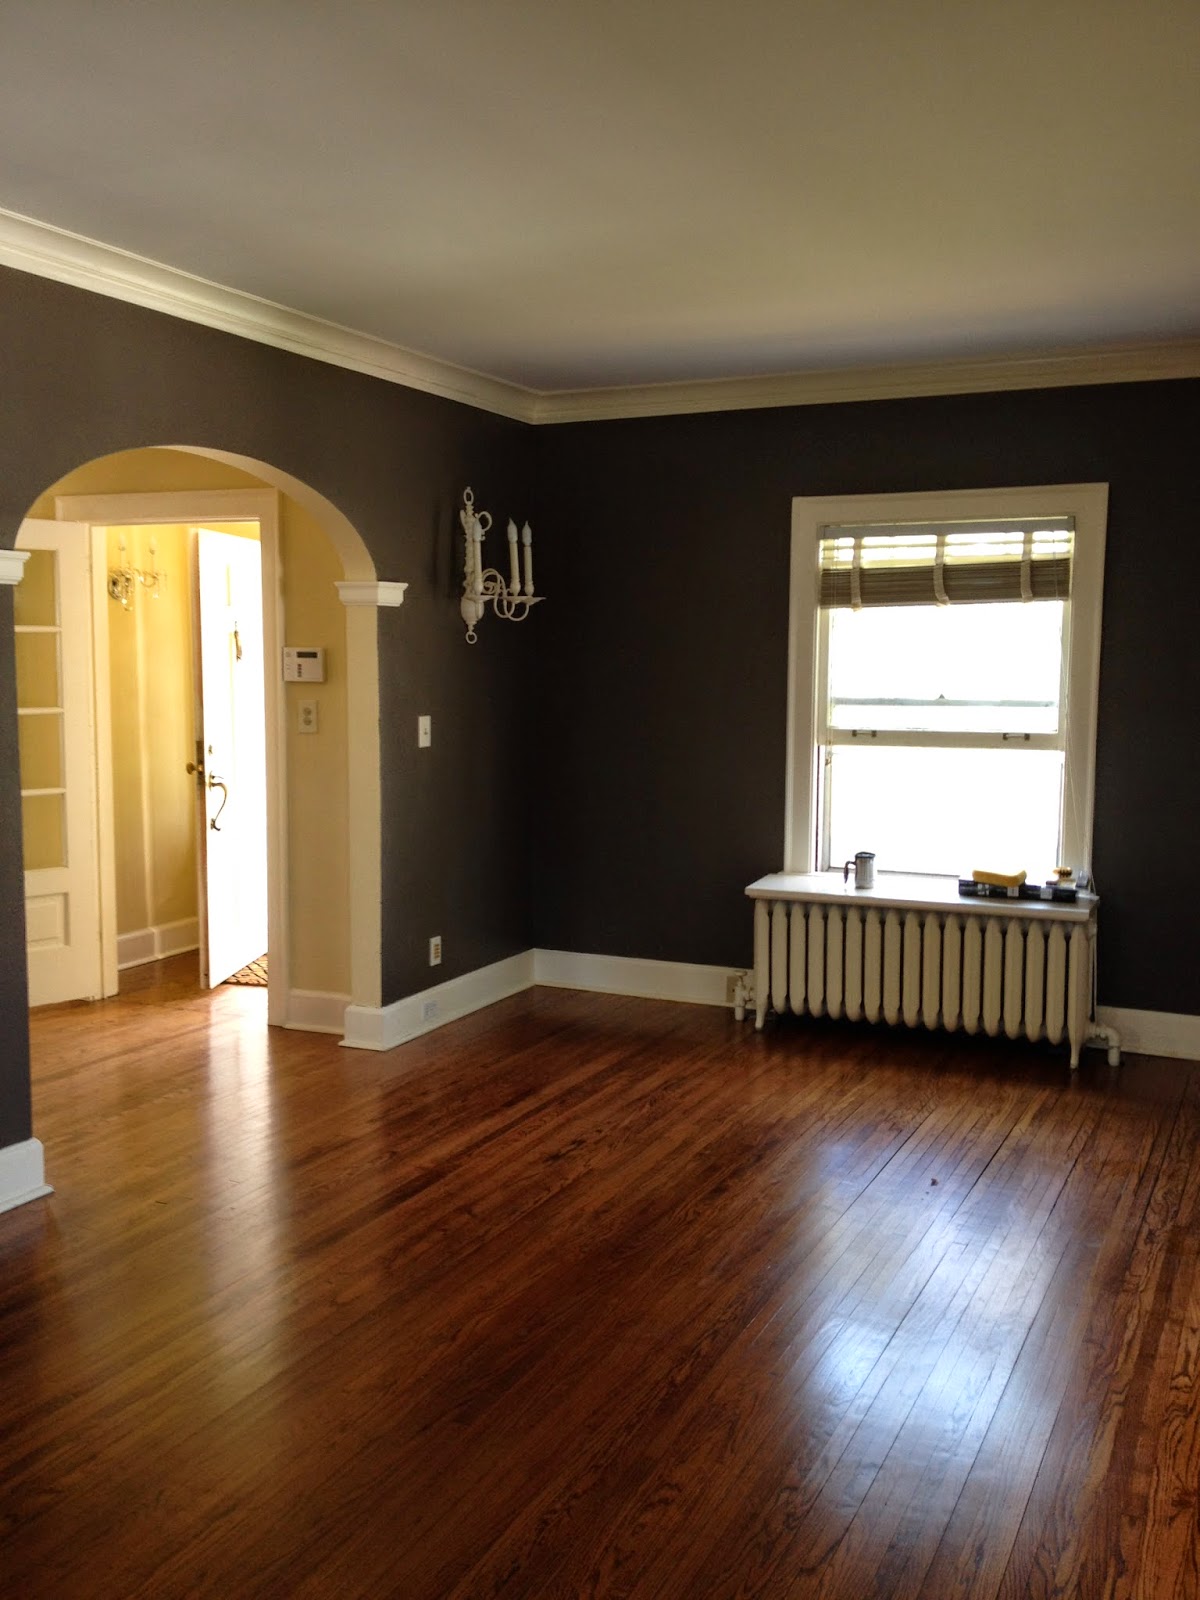
Here is the living room before we started:


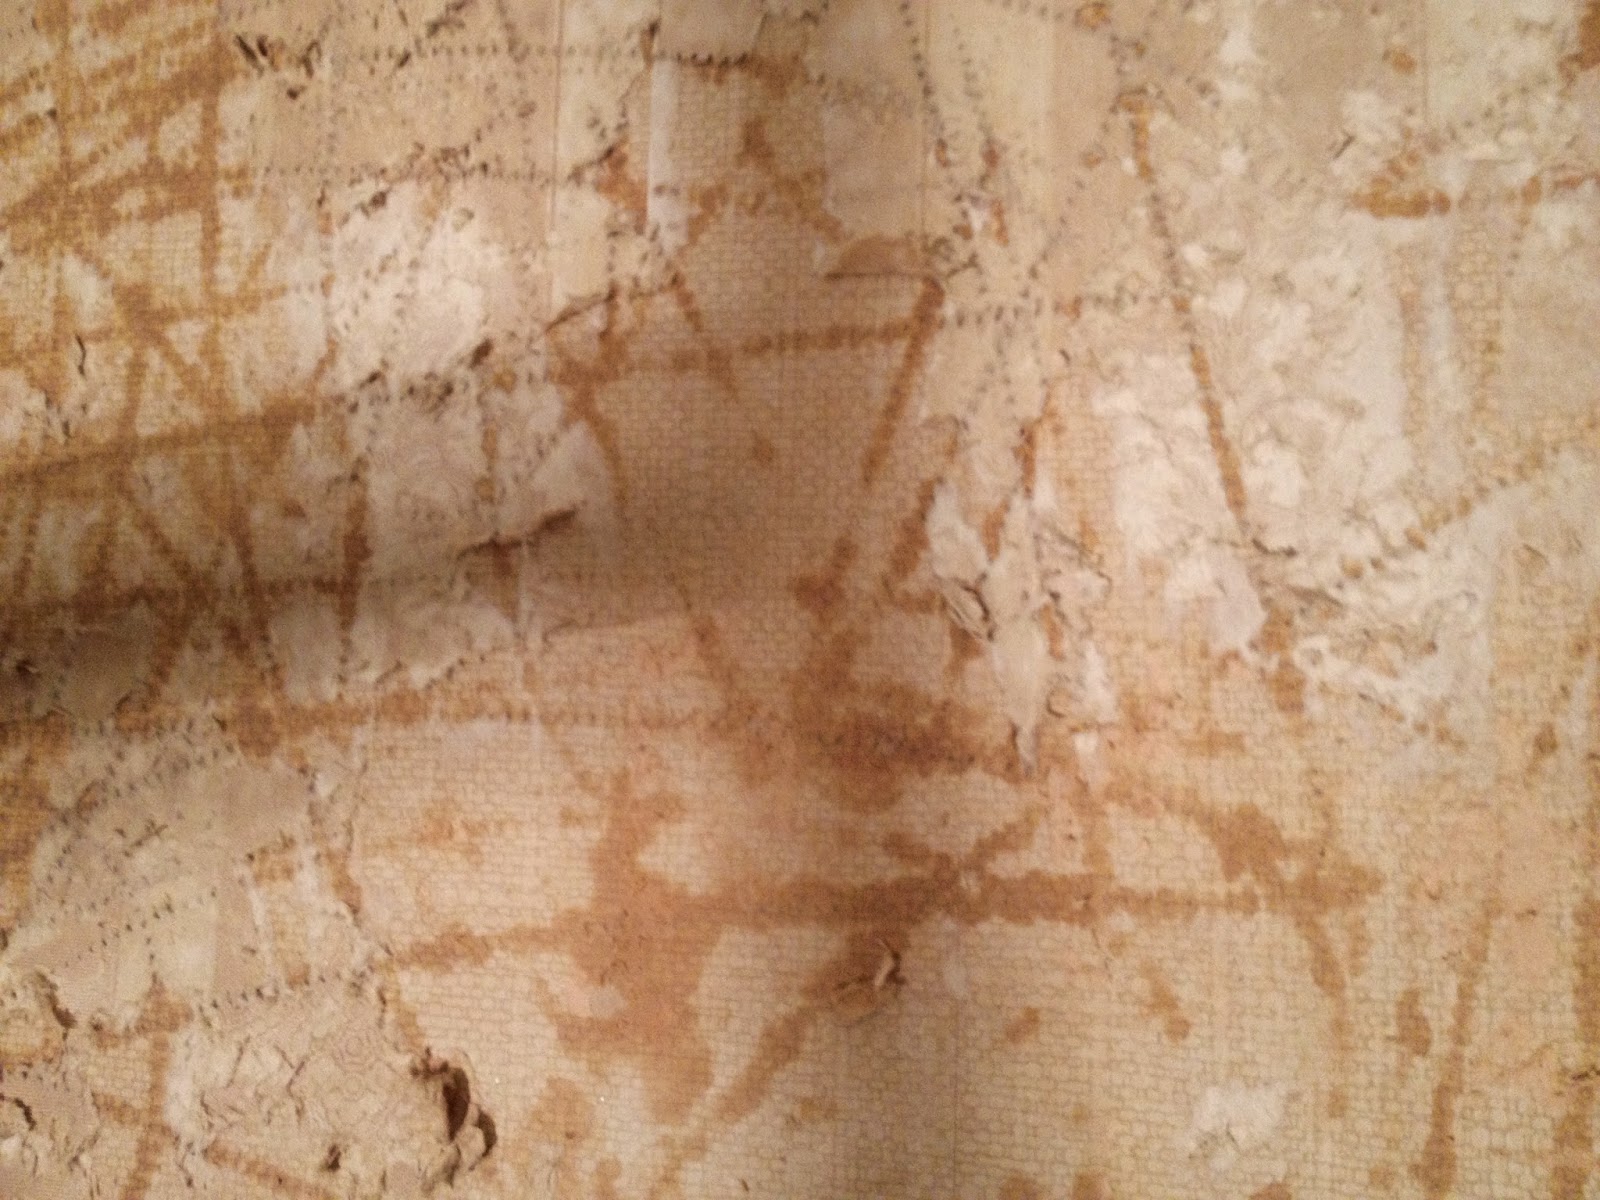
Our project started with removing the mirror. What we found behind it wasn't pretty. It was easy to remove from the wall, but it was extremely heavy. D and I had to very carefully lower it from the mantle and carry it out to the garage without it shattering. We did that successfully (we only broke a little piece off the edge- whoops!) and found this behind the mirror:

Layers and layers of super old wallpaper along with 2 giant holes that were stuffed with newspaper. I guess no one prior to us ever had a TV in this living room. So no need to remove the mirror until now. We pulled out the newspaper to find it was from 1941! How crazy. One of the articles was about a vitamin that would turn gray hair back to it's natural color. Ha!

We found some old electrical wiring in the holes and couldn't figure out what the heck they were for! I was worried that this was going to be a big expensive problem. After a trip to home depot and a conversation with a super helpful lady, we found out there was once sconces where there are now holes. She helped us plan how to cover the holes and remove the wallpaper and gave us everything we needed. We then talked to a guy in the electrical department that helped us figure out if the wiring was safe to cover We used a wire tester to see if the wires were hot and luckily they weren't so were able to cover them up. The best home depot experience I have ever had. Nothing better than excellent customer service.


D did such an awesome job cleaning up the wall. I was priming the bedroom while he scraped and periodically sweeping up for him. I would recommend that every homeowner has some kind of wet/dry vacuum or shop vac. We ordered this Stanley vacuum before moving in and it was one of the best purchases we made. Cleaning up was so easy! He stripped and cleaned the wall down to the plaster and we used drywall tape, a metal scraper and all purpose spackling to cover up the holes. When the spackling was dry the next day, I smoothed it out with a final layer and let that dry. I sanded it smooth and used Kilz primer to seal the wall.

We started painting the living room by first painting the edges and near the trim with a brush to make rolling the rest of the wall pretty easy. I should also mention I washed the walls with TSP the night before to make sure the walls were clean so the paint would adhere well. I painted the edges carefully and D rolled on the paint. The color we chose is a dark warm gray color. I thought it would look great against the white trim and warm wood floors.


I am so glad I eat a lot of Talenti because the containers are perfect for painting! I poured some in the jars and used that to paint the trim. So easy! It is great for storing touch up paint too because it has a nice screw on lid.

One wall was done with the first coat and it looked pretty great! We used Sherwin Williams super paint in satin finish, which is a paint and primer in one. It went on really smooth and coverage was pretty good.


I had to remove the brass wall sconce so I could paint. I was originally putting this thing on craigslist, but I figured I would try spray painting it first. Here is the before:

After a few light coats of spray paint, I loved it! It turned out so well! I used an ivory spray paint that matched the trim color. It really pops off the gray walls. I love it because it stays true to the old charm of the house but the white color makes it more modern.


Once the first coat of paint was dry, D and I quickly went over the walls and edges with a second coat and focused on the areas that really needed it (where the lighter color was showing through). This paint had pretty great coverage so a full second coat wasn't needed. Here are the completed pictures:


What do you think? I love it! I will update soon with everything moved in.
UPDATE: I finally got around to taking some pictures this past weekend. We are all settled in and loving it!


oh my gosh i seriously LOOOOOOOVE it!!!! SO adorable!! It has so much character. Come do our house ;)
ReplyDelete