

Gross.
Whoever did this took 3 different shades of nasty brown and haphazardly spread it all over our kitchen and back entry walls. I knew we couldn't just paint over it, because the paint was so thick that the texture would still be visible. I consulted the internet and my future brother in law who is an architect and it seemed the only way to remove it was to skim coat over the walls. For those of you who are like me and had no idea what this meant, skim coating is where you take joint compound (similar to plaster) and spread multiple thin coats over the top of the wall to create a smooth surface. I had no idea if this was a DIY job or if we would have to hire someone to do it. One day my work was offering a lunch that featured "Mr. Fix it" Lou Manfredini who is a radio talk show host, has a TV show and has written a book on home ownership. I am so glad I attended this talk! After the lunch, he was inviting people to come ask questions. I brought the above picture to Lou and asked how to fix it. He said I would have to sand the walls lightly and then skim coat. I asked if this was a DIY project and he said "Have you ever decorated a cake?" and I have so he said I could tackle skim coating myself. I never heard of Lou before this, but now I am a huge fan! I bought his book "House Smarts" and it's basically home ownership 101. I would definitely recommend any new homeowners buy and read this book!
My plan for this project was as follows:
Step 1: Lightly sand walls with 80 grit on a pole sander (to remove sheen from paint so joint compound will adhere better)
Step 2: Clean walls with TSP solution (to remove dust)
Step 3: Begin skim coating thin layer #1 (roll on with paint roller and smooth with magic trowel)
Step 4: Lightly sand with 220 grit on pole sander
Step 5: Skim coat thin layer #2
Step 6: Lightly sand with 220 grit on pole sander
Determine at this point if the walls are smooth or if they need additional skim coat.
Step 7: Prime walls with oil based primer/sealer
Step 8: Paint walls (I used latex Sherwin Williams Superpaint)
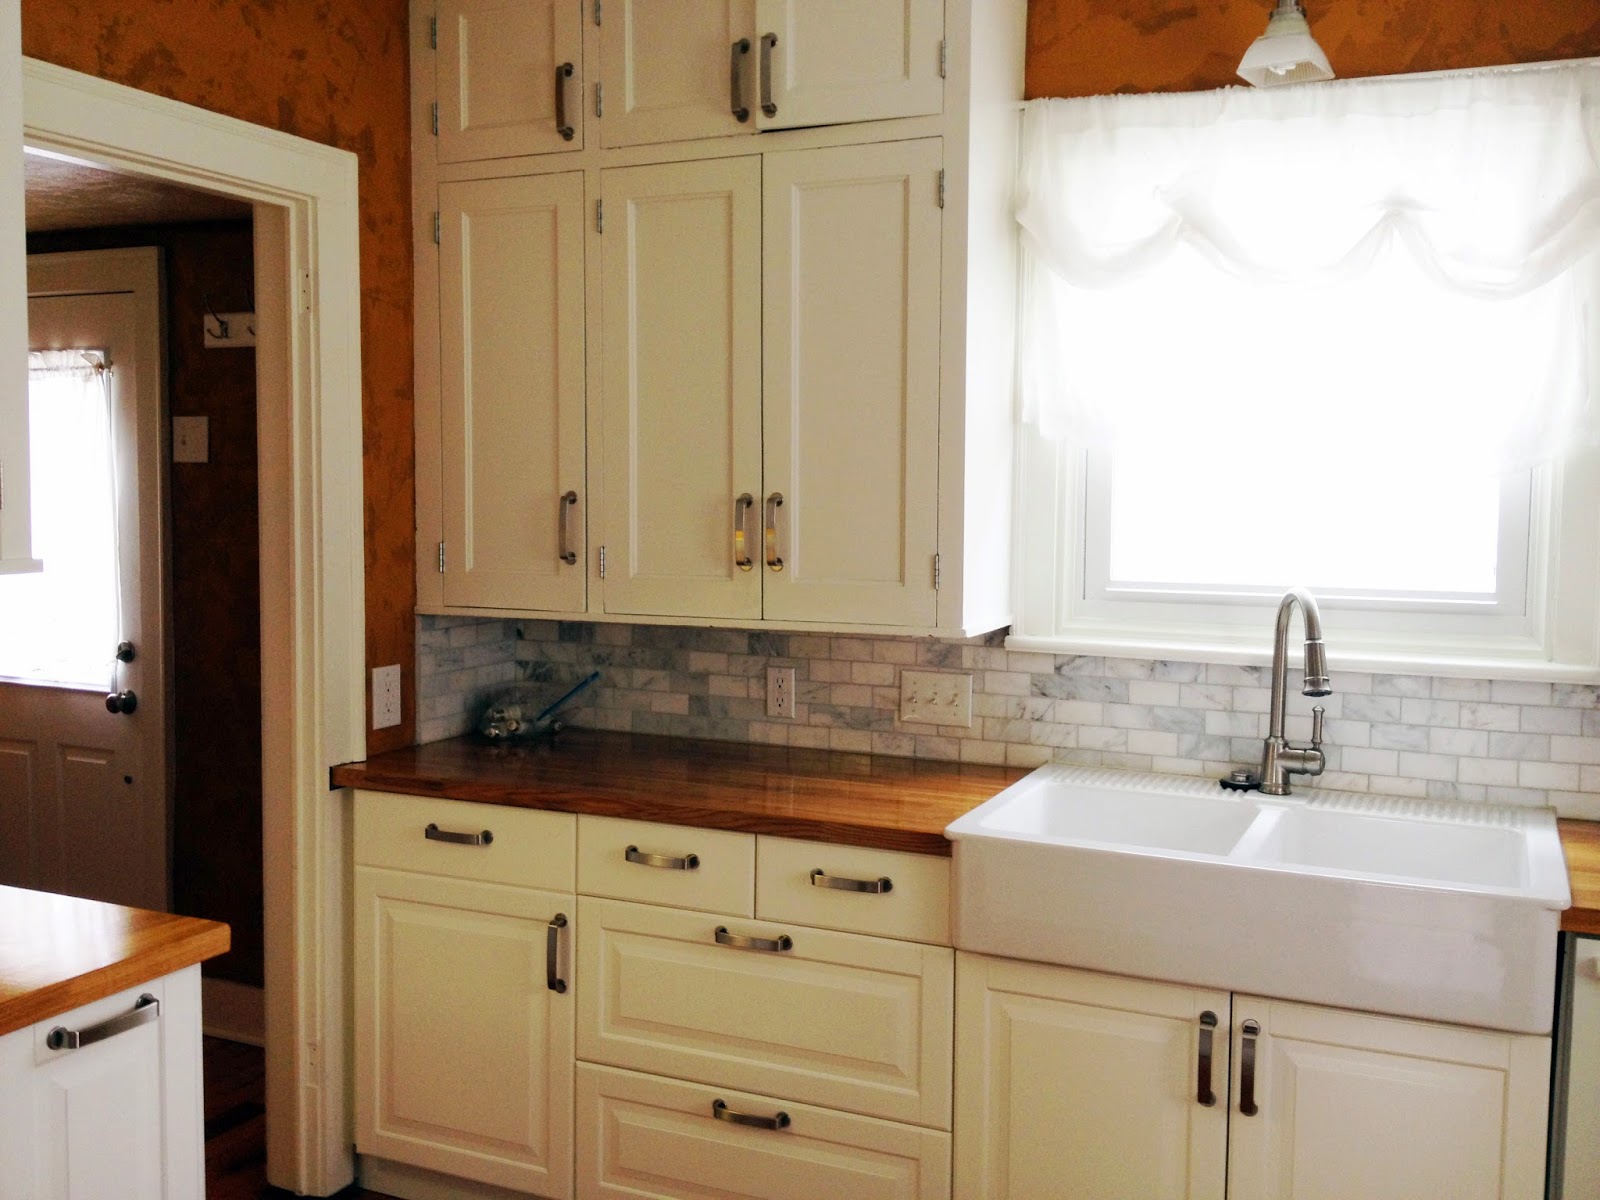
Before I get into the process, here are pictures of what the kitchen looked like before in all it's gross peanut butter wall glory:


Because I would be sanding paint, it was very important to wear a dust mask!


Whew. This was going to take awhile. I decided to put the second coat on a bit thicker to make the process go faster. The idea is that you build up the layers of compound to create a smooth surface, and it generally takes at least 3 coats. After about 3 coats it was looking pretty good!


After the walls were skim coated with about 3 coats, I let them dry and lightly sanded with the pole sander. I wiped up all of the dust and got ready to prime. I taped off the cabinets and counters and used KILZ primer because it also acts as a sealer for the joint compound. I had a fan in the window because KILZ is super strong smelly stuff.


It looked so much better! Even though my kitchen was a disaster for a couple days. After the primer dried, it was finally time to paint. I picked a super fun color for the kitchen.

No comments:
Post a Comment